Colin's Photo-Journal in England
For a text-based journal (no longer updated), click here.
For the previous two weeks, click here.
|
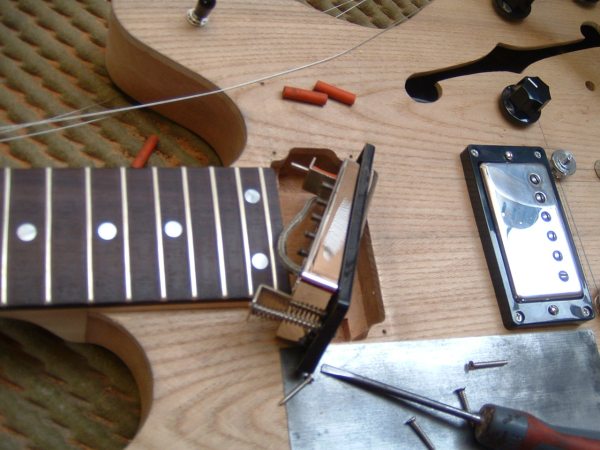
3/20/05
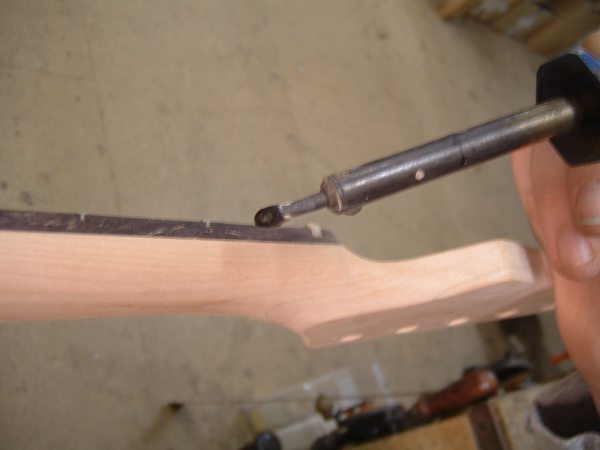
I spent most of Friday and this weekend in London with my Brother, and while I was here I mostly did final clean-up things. Here I am filling the gaps between the fingerboard and my fret ends with shellac.
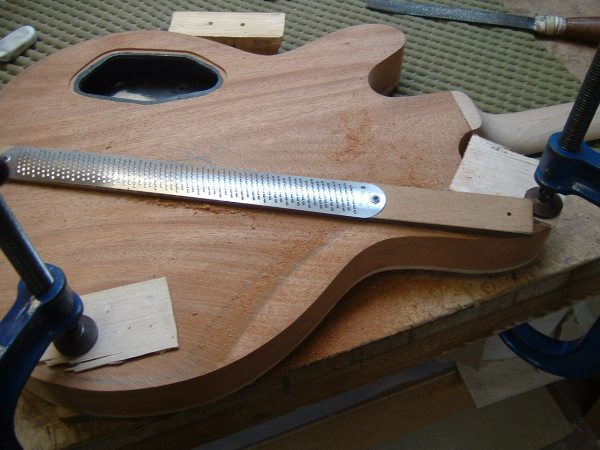
3/17/05
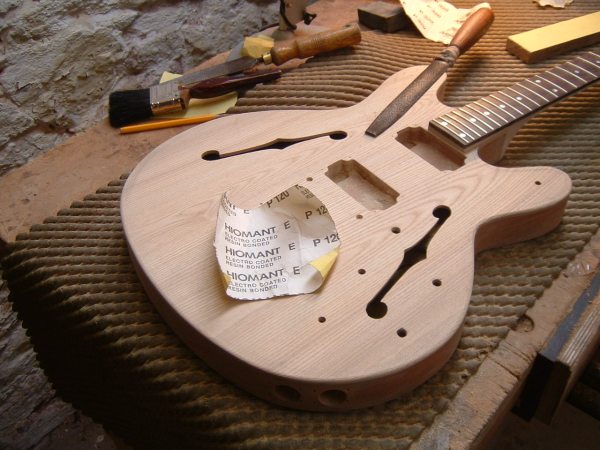
After removing all of my hardware, I started the final sanding today. Here I am sanding the back to a very fine grit.
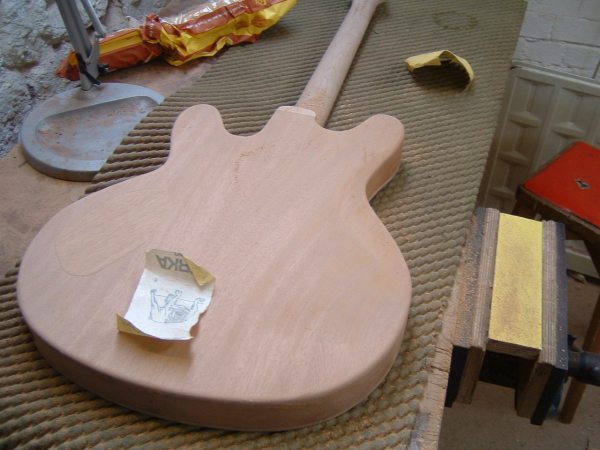
I also finally rounded the front, but just slightly.
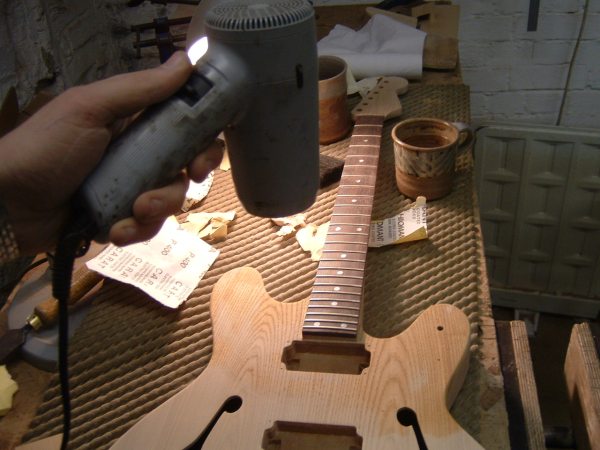
At the end of the day, I raised and sanded the grain by dampening the surface, blowdrying it, and resanding.
3/16/05
I did a lot of small odd jobs today, like repainting the cavity cover with acrylic, but I only took a few pictures. Here I am drilling and inserting little magnets into the back of the guitar to hold the cover in place.
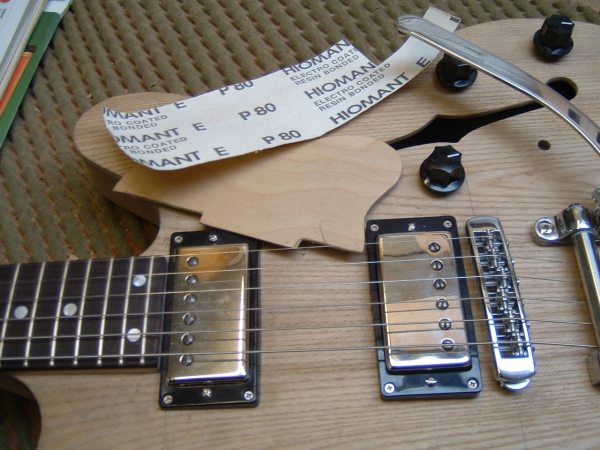
I also glued pieces of template ply to my pickguards to strengthen them.
3/15/05
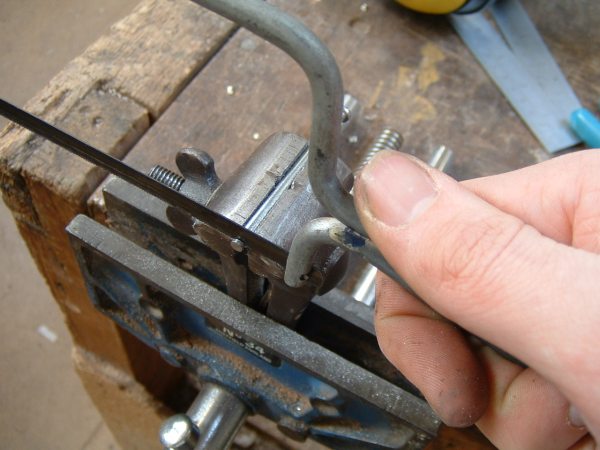
First off today I brought the piece of ash I am using for the pickguard down to thickness.
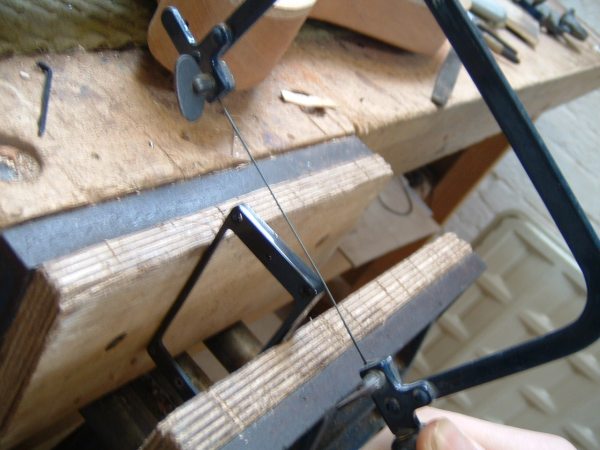
Here I am cutting out the rough pickguard shape... I also did this with the mahogany.
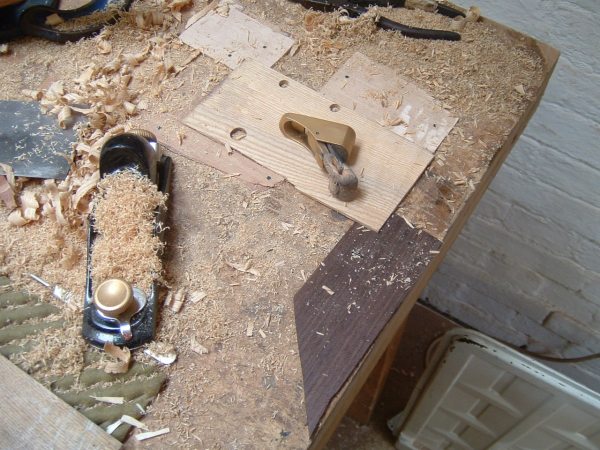
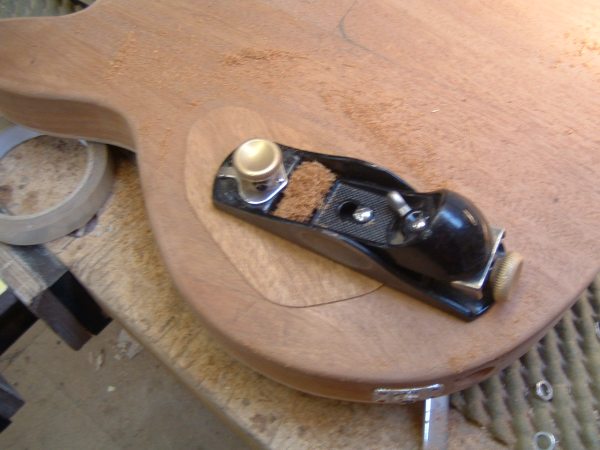
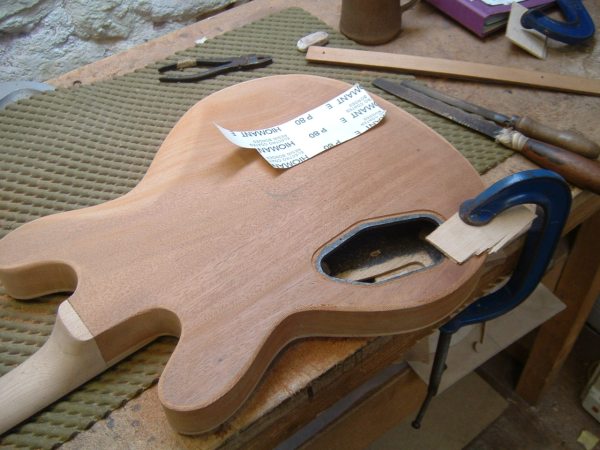
After fitting the control cavity cover, I started to plane it down to flush with the back.
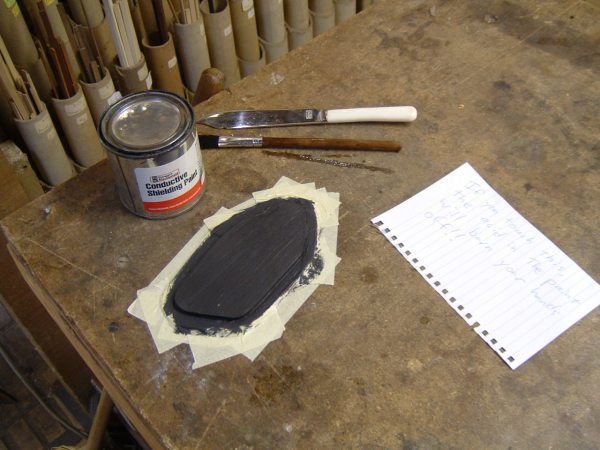
Towards the end of the day, I painted the cavity cover with conductive paint.
3/14/05
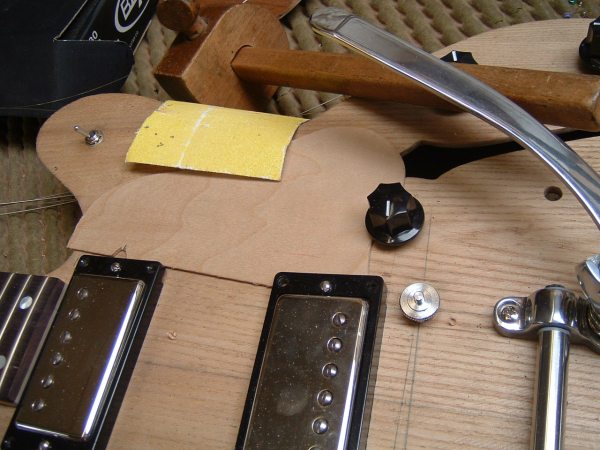
This weekend I didn't do much work on my guitar, but I did help Adrian with a tube amp. The only picture I took, however, was bad. Today (and probably the next few days) will be pretty random. First thing was cutting out little slots in my pickup surrounds to put the pickguard under.
Next was some rough shaping of a new pickguard template, which will sit under the pickup covers.
For something completely different, I cut little inserts from a nail which will attract the magnets to keep my control cover in place.
Finally, I epoxied the fat piece of ply to the other two on my control cavity cover.

3/11/05
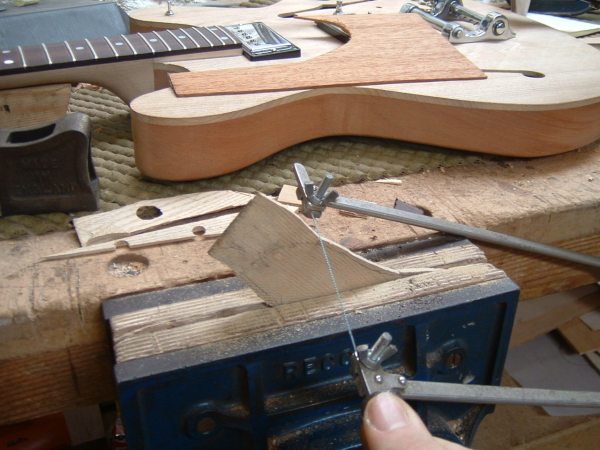
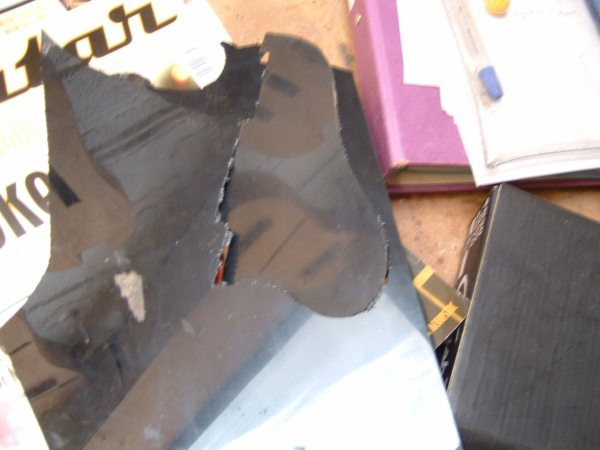
First thing today was making and shaping a rough pickguard template...
...which I later used to cut out a rough outline from black plastic.
Instead of shaping the plastic, I decided it would be better to work on my wooden control cavity cover while Phil was there. Here I am routing the mahogany.
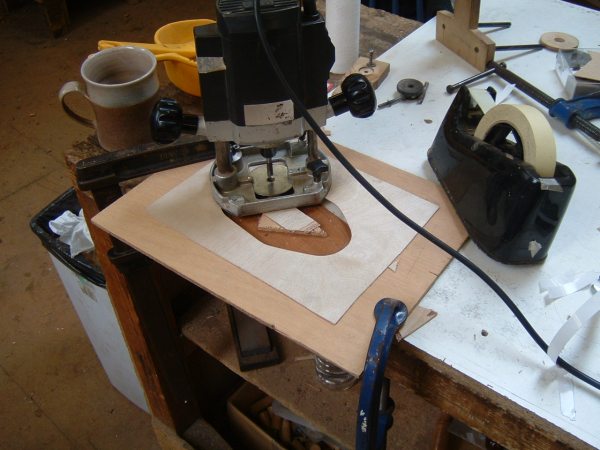
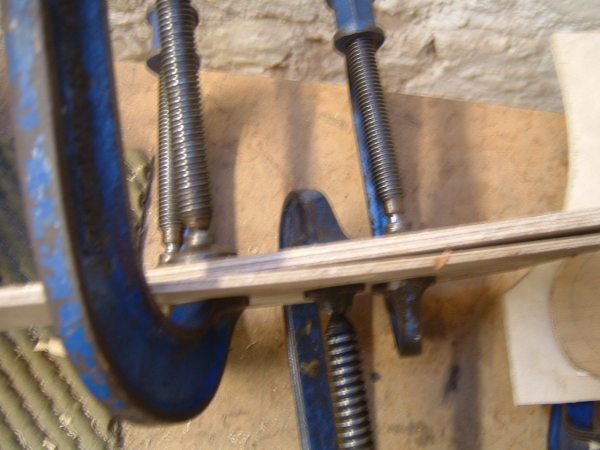
And after routing a piece of template ply to strengthen the mahogany, I glued the two together, here between two pieces of wood to prevent warping.

3/10/05
Today I did a few miscellaneous things while playing with my plugged in guitar. First, I replaced the pickup tubes which I was using yesterday with pickup springs that just came in today.
I also fixed up and changed the wiring a bit. Here I am switching the tone capacitors for higher values.
3/9/05
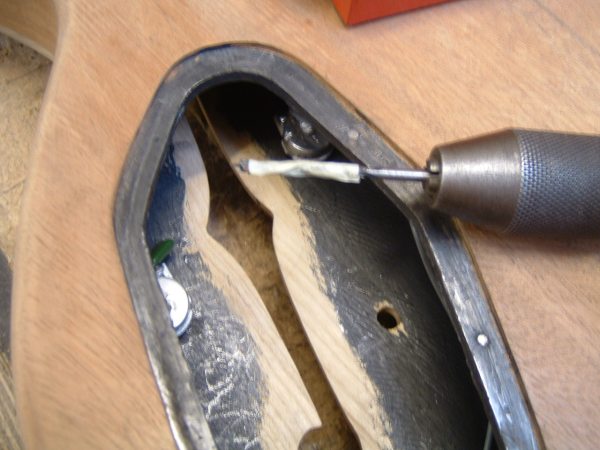
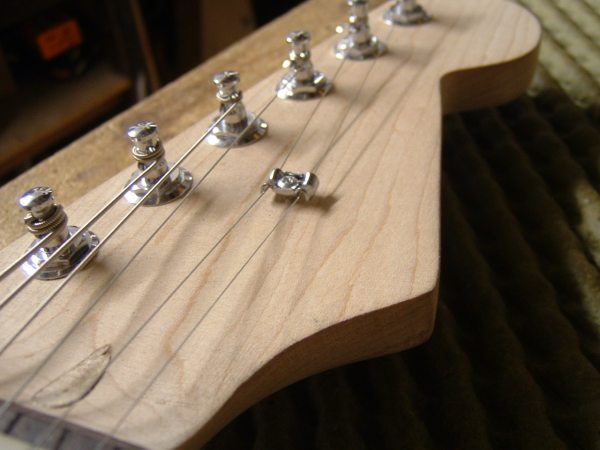
After getting the intonation all set right, I drilled the hole for the string tree before taking off all of the strings.
After marking out some boundaries, I carved out the back recess, which is simply for comfort against your body.
Then I continued the softening around all of the edges on the back.
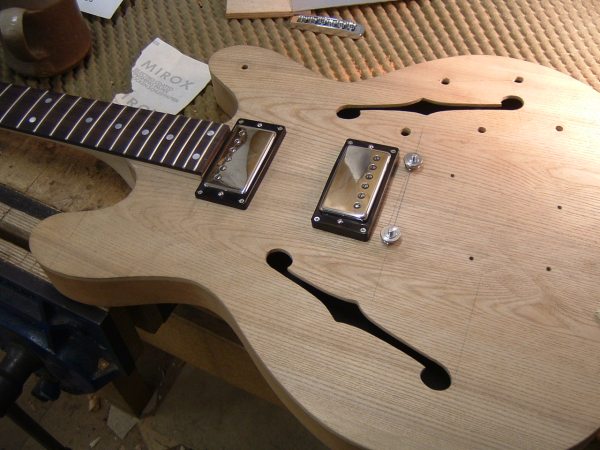
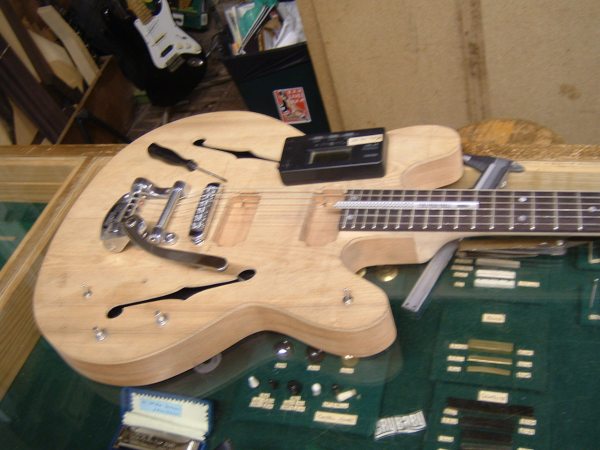
Next I carefully maked out the holes for the pickups and pickup covers and drilled the holes (admittedly this picture was taken a bit late).
Finally, after finishing off the wiring, I got to plug in my guitar for the first time and rock out (albeit for only a few minutes because the owner of the yoga ceter across the street came and asked me to turn it down.)
3/8/05
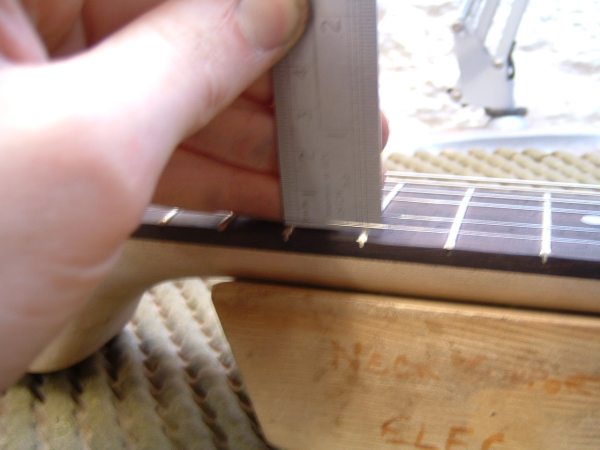
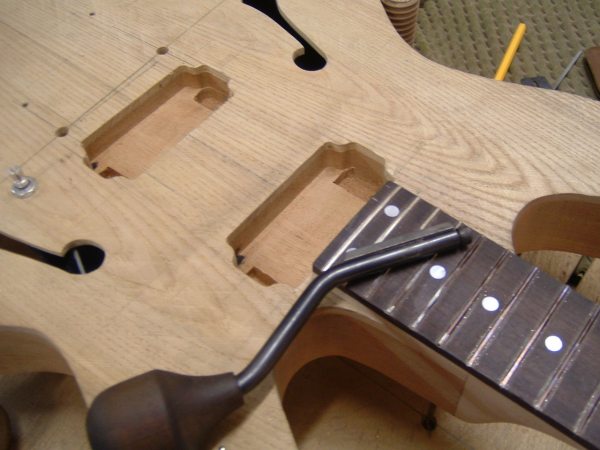
After getting the frets all crowned and smooth, it was time for the final setup. First, I had to adjust the bridge height based on the string height at the 12th fret.
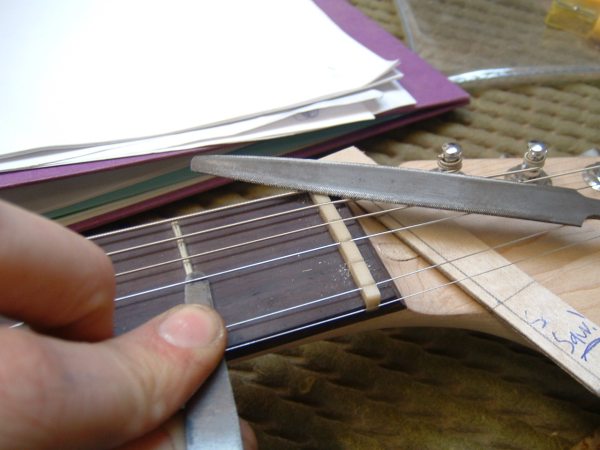
Next, I filed down the fret slots to their proper heights and smoothed the nut.
At the end of the day I started intonating my guitar downstairs.
3/7/05
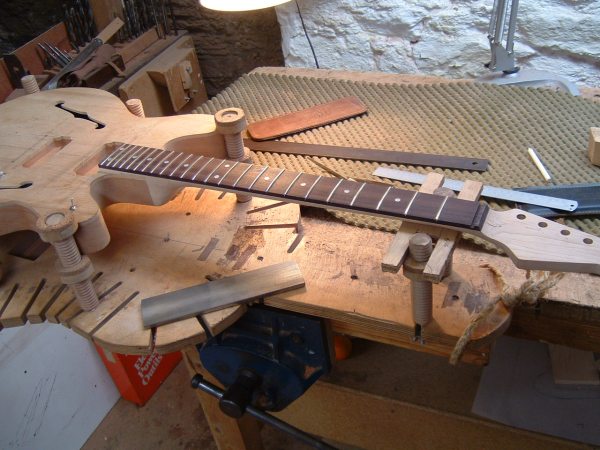
After some measurements on the stringed up instrument, I de-assembled the whole thing to stone the frets or to make them all level.
After stoning, the frets need to be re-crowned or re-rounded.
3/6/05
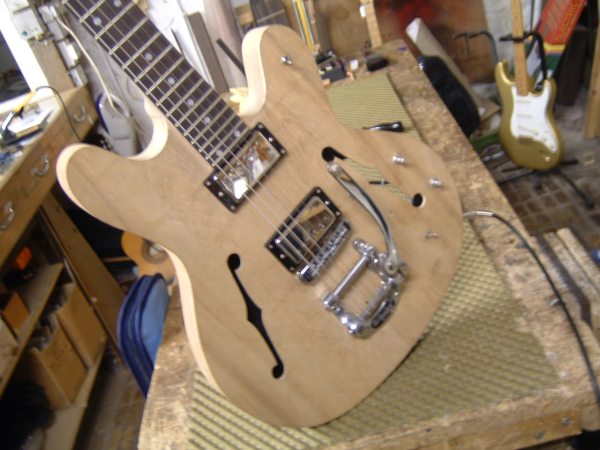
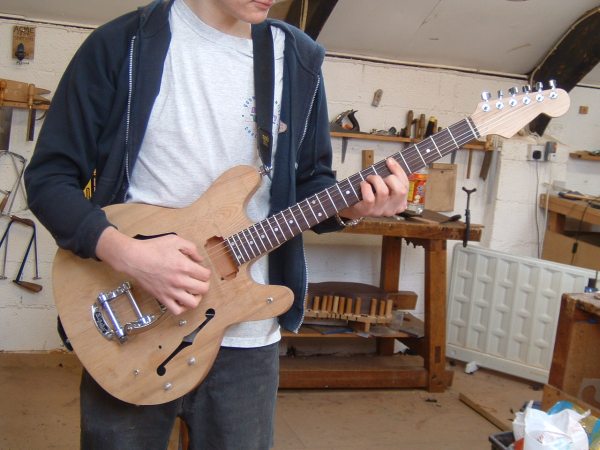
Today I did some final shaping of the body and the neck. I also drilled my straplock holes, and rigged up a strat so I could walk around.
|
|