Colin's Photo-Journal in England
For a text-based journal, click here.
For the previous two weeks, click here.
|
2/17/05
More little steps to getting the fingerboard glued... first, drilling the truss rod hole, so I can adjust the truss rod.
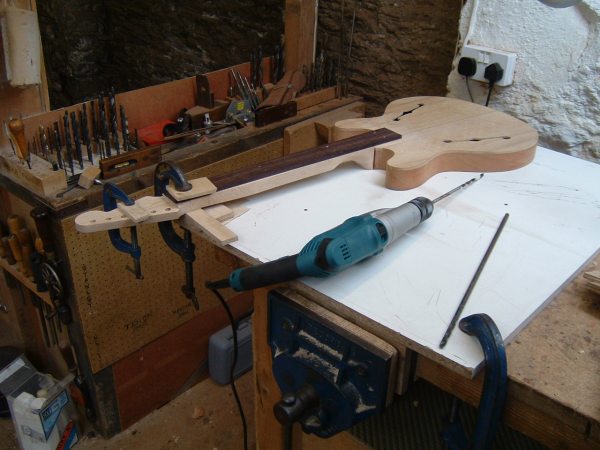
And the hole all drilled... it needed to be at a slight angle so that the tuning pegs don't get in the way.
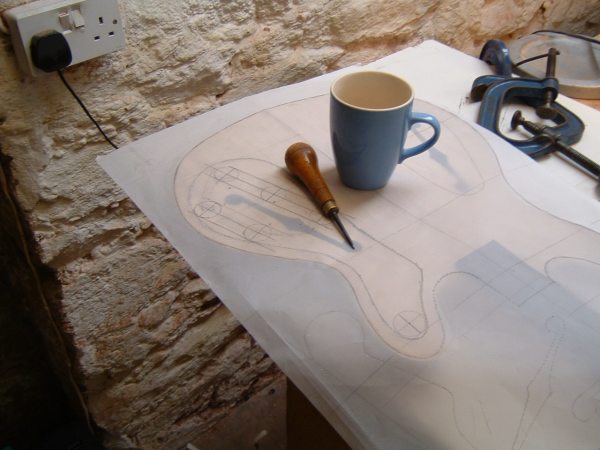
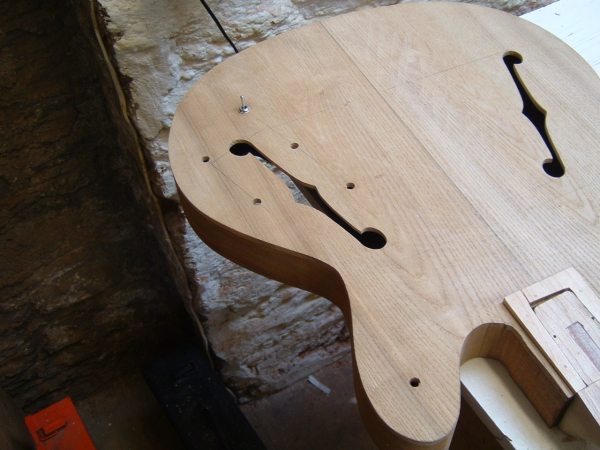
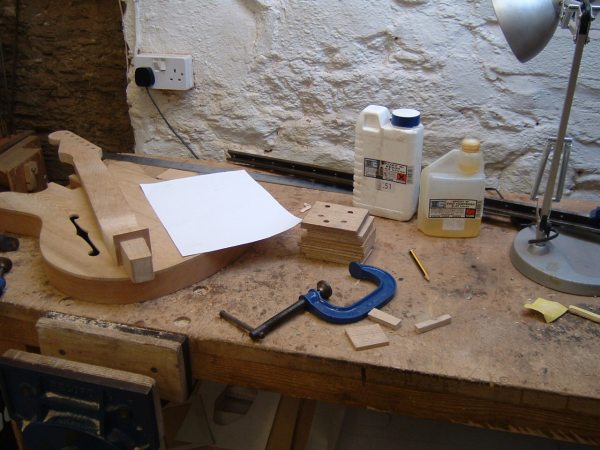
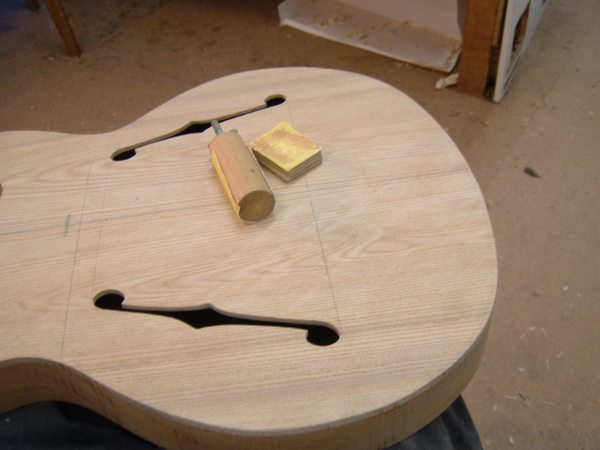
Next, since I had time to spare before gluing at the end of the day, I got ready to drill the holes for the pots. The cup is just to keep the paper down, which I am poking through to create guides for drilling the holes.
Because my ash top is fairly skinny, as a safety measure I made little wooden washers out of thin ply wood to go around where they are driled in.
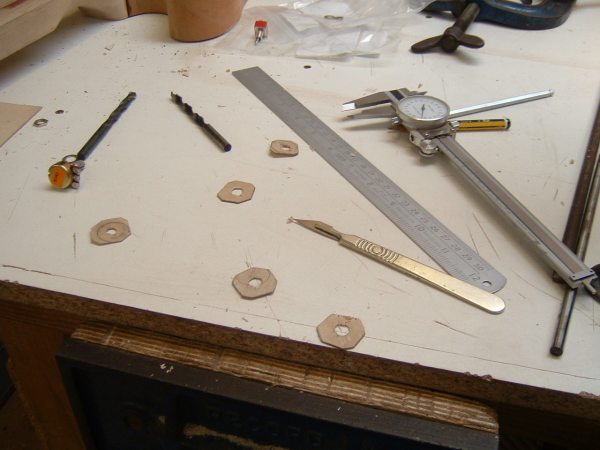
Unfortunately, they didn't have the longer shafted pots in stock, so I could only glue the washer for the switch. The switch acts as a cramp.
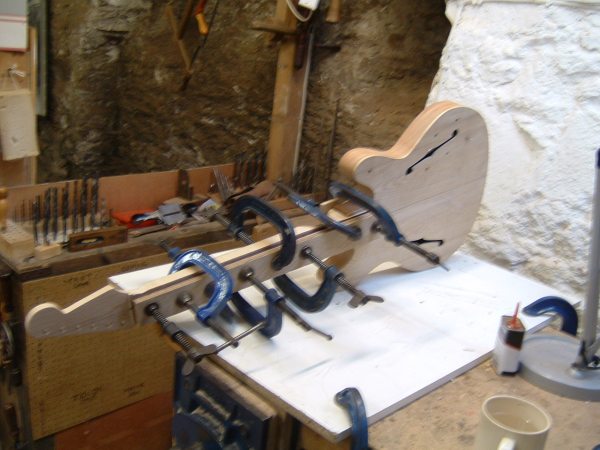
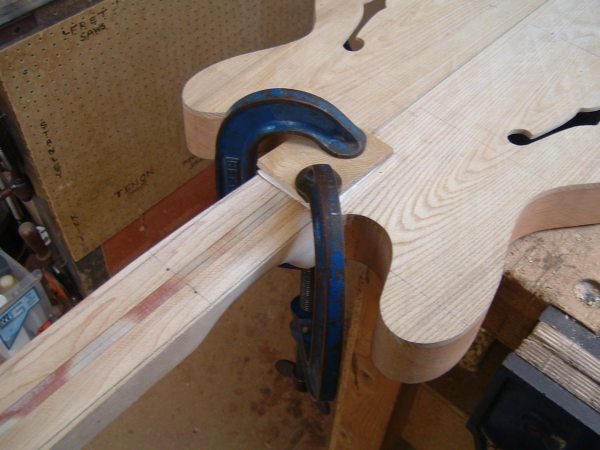
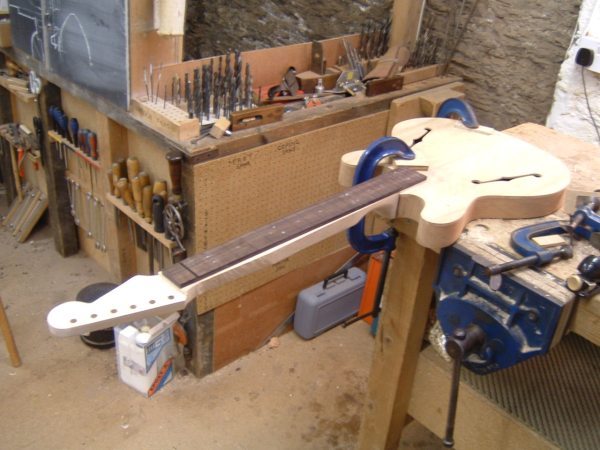
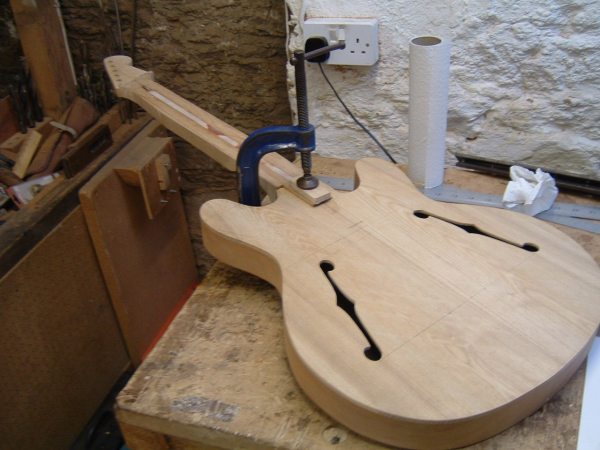
The last step before gluing on the fingerboard was to create a piece of ply with the same profile as the neck with little pieces of skinny ply on either side to apply all of the pressure on the edges, where the join will be visible.
Finally, here the fingerboard is being glued right onto the neck.
2/16/05
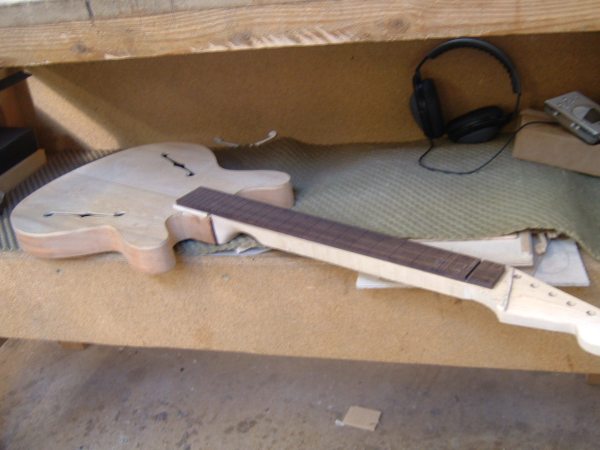
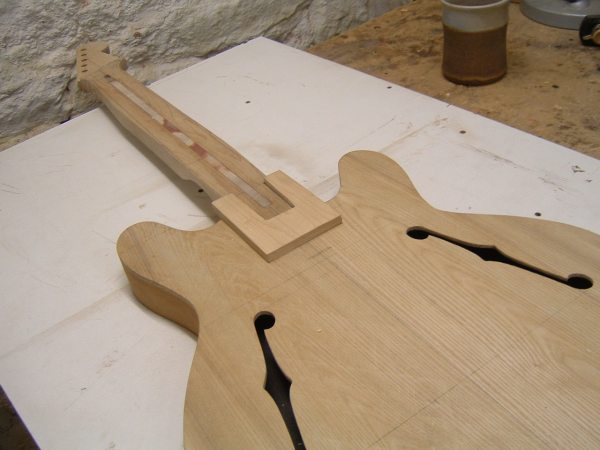
Today I got ready to glue the fingerboard, there were lots of little steps and I tried to take pictures of most of them. First, here is the slotted fingerboad just laying on my guitar...
Here I am putting toothpicks in holes I drilled in the insert that goes underneath the fretboard after the neck to body join, to make sure it stays in plac when gluing. The same was done to the fingerboard.

During lunch I glued the piece on...
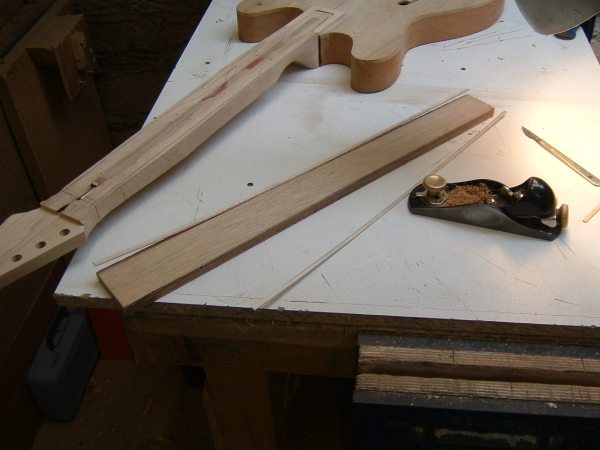
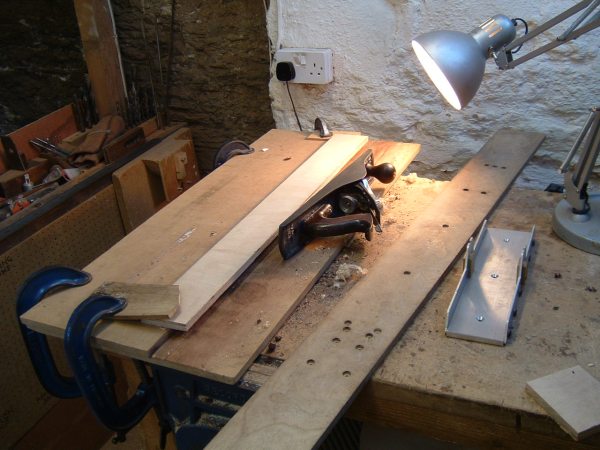
And after lunch I planed it down so that it was flush with the surface of the neck.
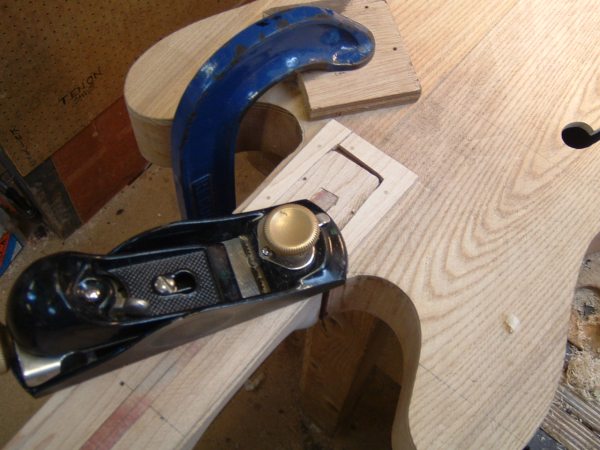
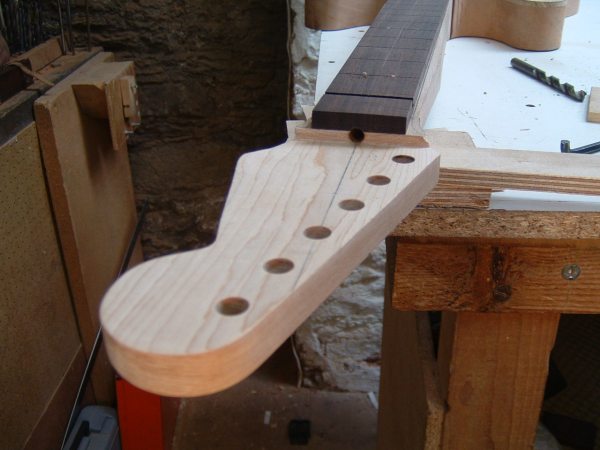
Then at the top of the neck I cut a sawline to plane the headstock down to, sort of "moving back" the barrier now that I am farther along.
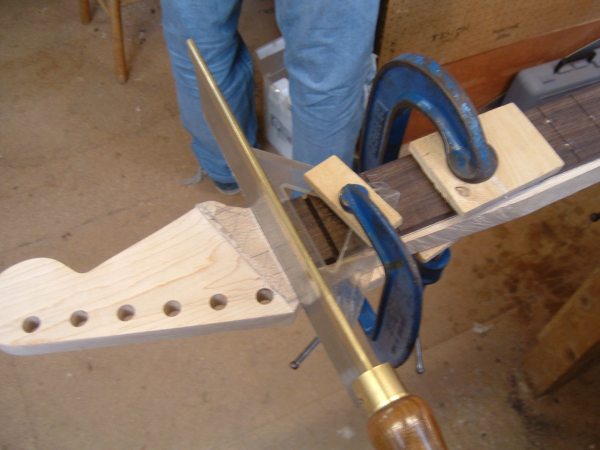
Bringing it down to thickness with the chisel and shoulder plane...
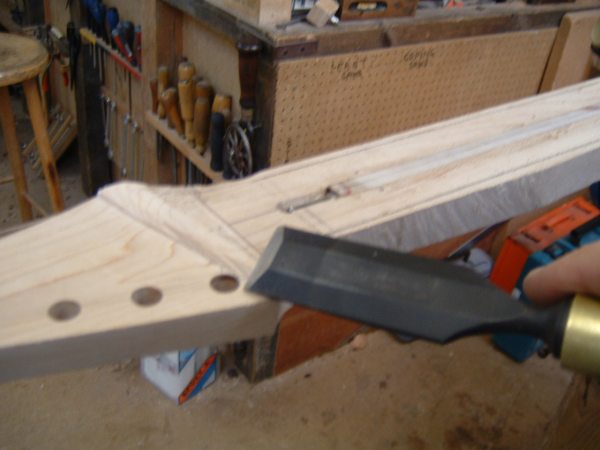
And at the end of the day, it might not look much different but it's much closer to ready for gluing.
<
2/15/05
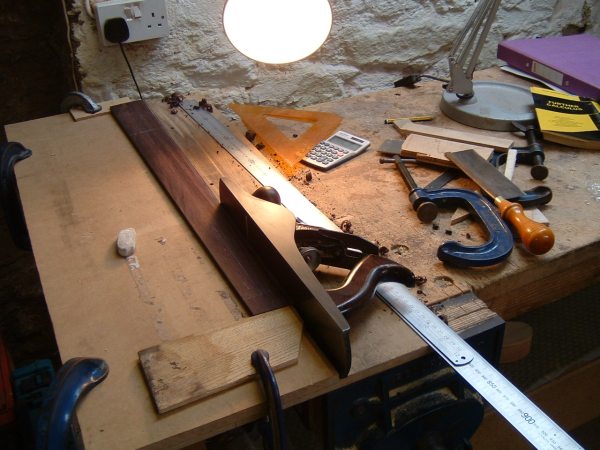
Today I prepared the fret slot cutting jig and cut my frets. Preparing it was a lot of little steps, I had to make a long piece of ply to slide it on, drill holes to hold it, and make a nut-stop for aligning my ruler. Here I am partway through it all.
And, when it was all ready, the nerve-wracking and very crucial task of cutting the fret slots...

2/14/05
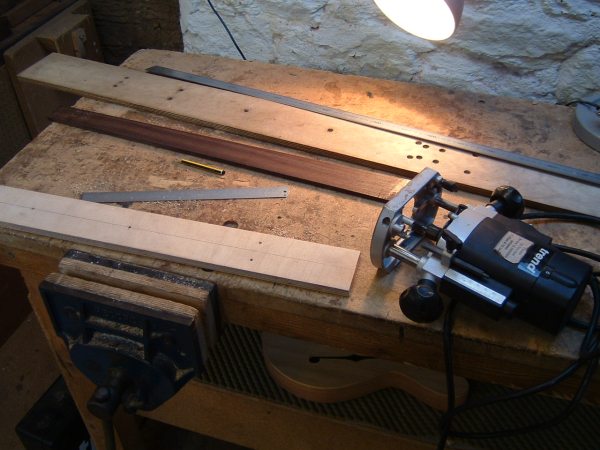
After fixing up the insert for the fingerboard and making it nice and skinny, I began to shape my fingerboard, which must be done before it is glued.
After doing so, it's time to get the fret slots in. You can see part of the jig here, which is the metal device. I had to plane down this long insert for putting the fingerboard trhough the metal device... it will all make sense when it is assembled tomorrow.
2/12/05
The joint turned out quite well. I spent a lot of the day making the small insert that will raise the end of the fretboard from the body:
2/11/05
Before gluing, here was the setup for drilling the tuning pegs. The neck was also cramped down to the drill press.
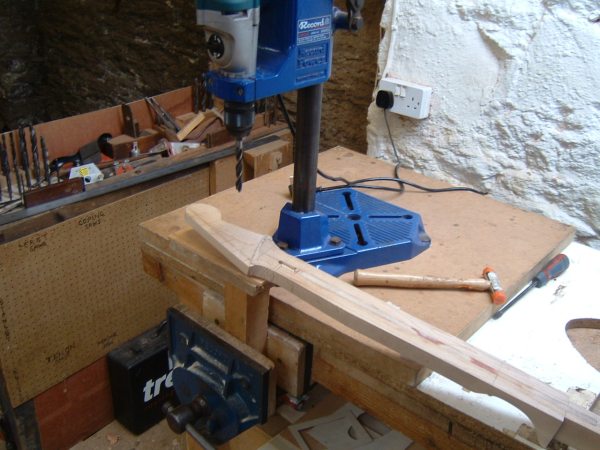
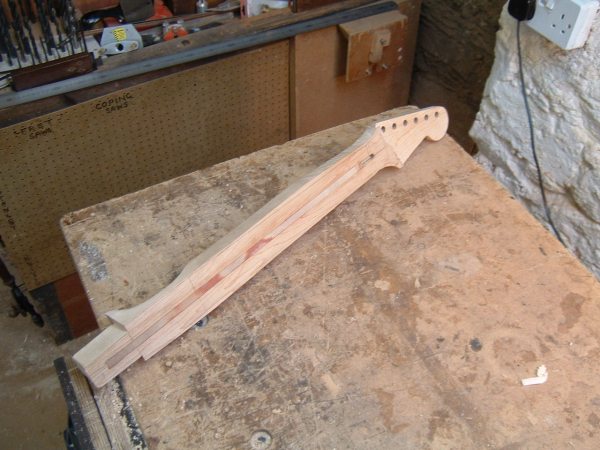
After drilling, which went OK, here was the final neck to be glued.
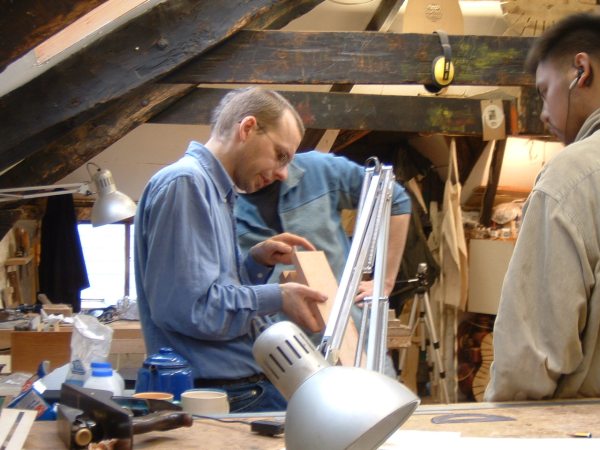
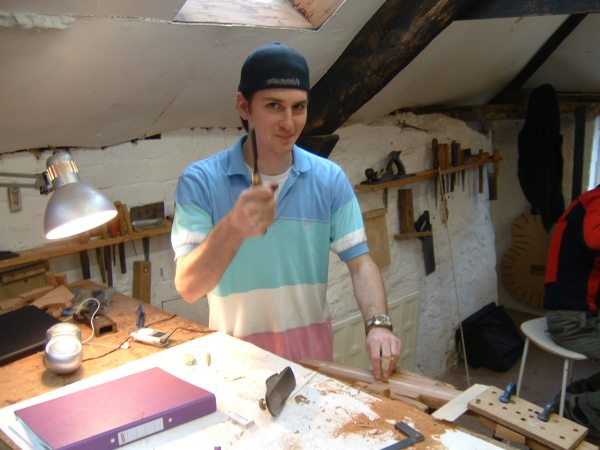
I thought it was unfair to have no picture of Phil, the teacher, from the other day, so here he is showing Dave something.
At the end of the day we glued the neck. Here was everything set up...
and finally, the joined neck and body.
2/10/05
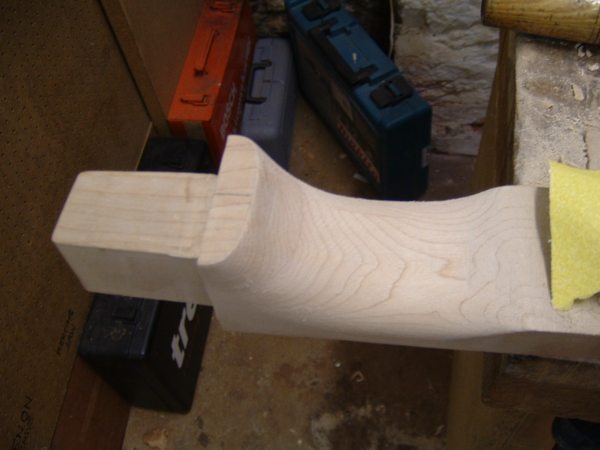
Today we finished fitting the neck, but before we glue I had to shape the heel. Here I am sketching on the lines to saw out:
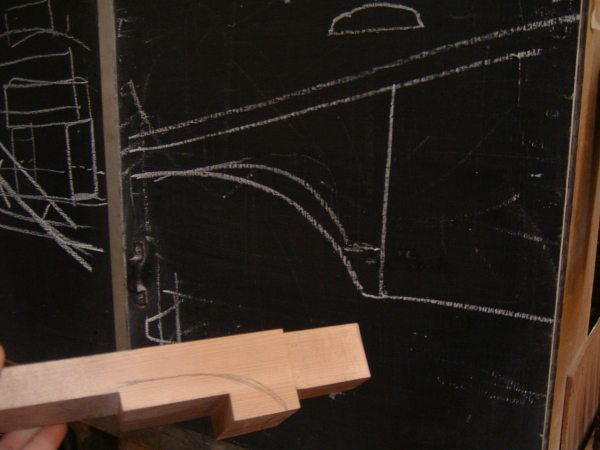
After sawing out, the rough shape of the heel:

Trimming down the rough curves with a chisel:
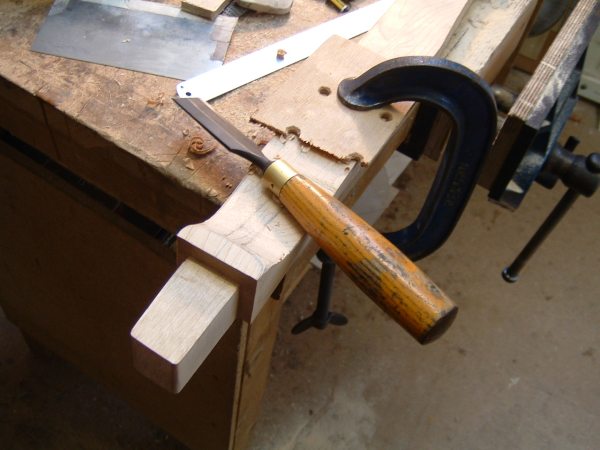
And finally, the final shaping with rasps and sand paper.
Tomorrow, we will do the final headstock shaping and drill for tuning pegs.
2/9/05
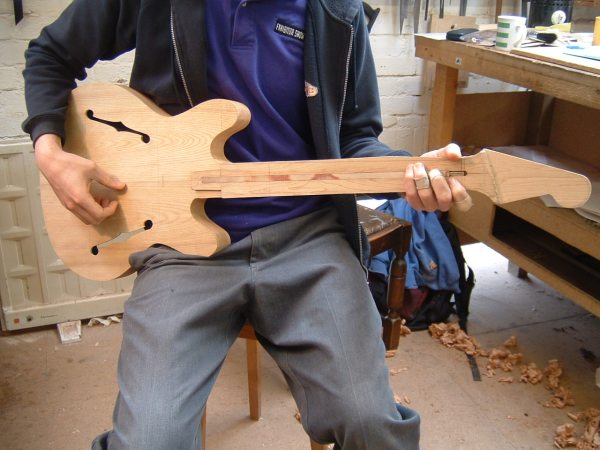
Still fitting the neck! But at least I can say that it is going VERY well. Today the neck fit so well that you could pick up the body and the guitar without it moving or coming out, so I had Dave snap this shot of me holding it.
2/7/05
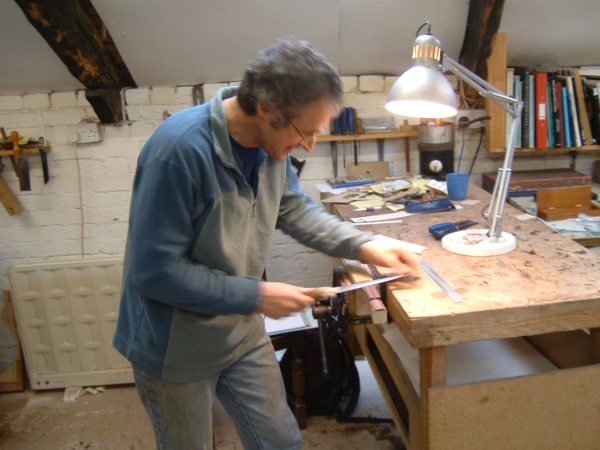
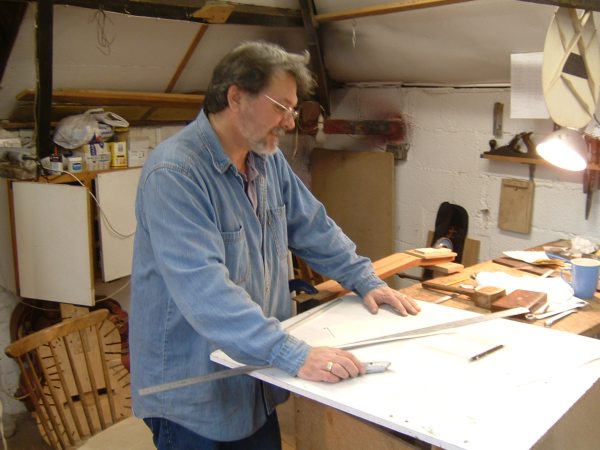
Because the only pictures I could have really taken today would have been of me making the neck join proper, I decided it was a good day to take pictures of the other students to post. The pictures were taken in a clockwise direction from my desk, which is in the back right corner. This first one is Dave, he's English, likely the oldest, he likes Flamenco music and is building a very complicated classical guitar. I often end up bumping into him while I'm working because our desks are so close.
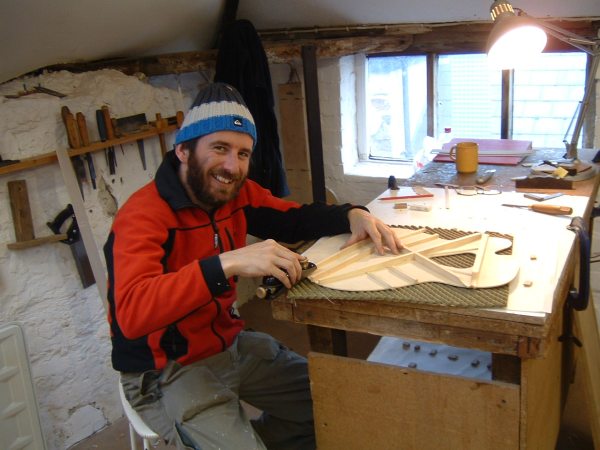
This is Billy. He's from America, from Buck County, Pennsylvania. He's the only other one building an electric, it is also semi-hollow, but it is more contoured than mine. He likes quite a range of music, but lots of 80s hair metal sort of stuff, and he often can be heard playing such music (pretty well might I add) downstairs on one of the amps.
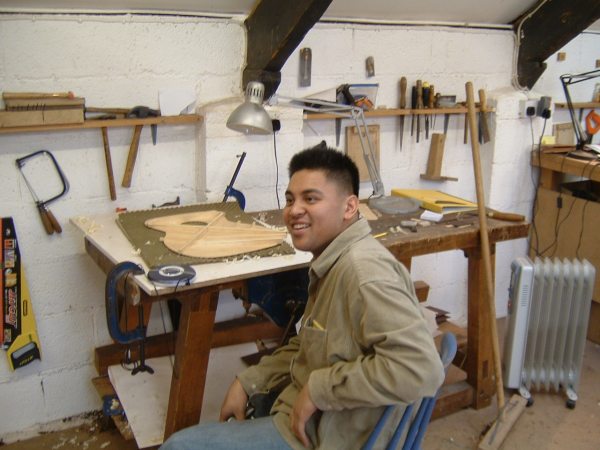
This is Adrian. He's English and fairly young. He also records on Macs as I do so we often talk about that sort of thing. His guitar has an interesting cutaway shape, it is an acoustic, with a semi-triangular soundhole.
This is Clay. He's from Florida, with a southern twang. He will be building smallbodied acoustics after he leaves the school, so he often talks about their advantages, and is an avid supporter of Martin. He listens to classic rock and has plenty of stories about seeing Alice Cooper and plenty others.
This is Isaac. He just got back today from a wedding in the states. He's building a fairly run-of-the-mill dreadnought acoustic. He can often be heard singing loudly, and likes pretty standard poppy acoustic music.
2/6/05
Today I shaped the neck join some more and sanded the edges of my body. Here's a picture of the sanding tools I used on the body... it was quite a bit of work.
|
|