Colin's Photo-Journal in England
For a text-based journal, click here.
For the previous two weeks, click here.
|
2/5/05
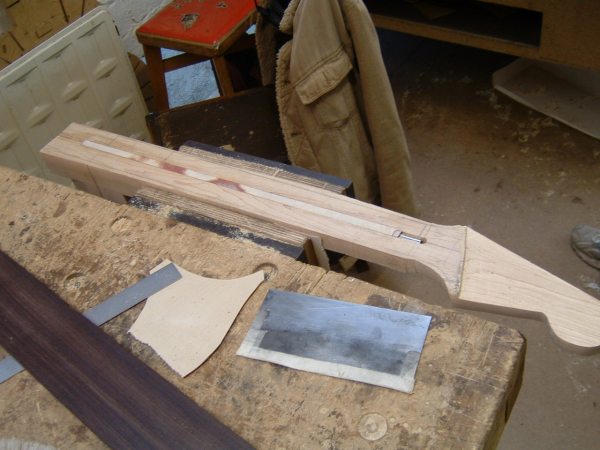
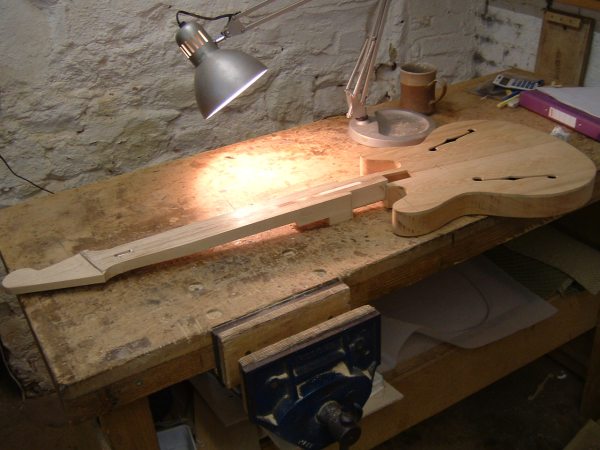
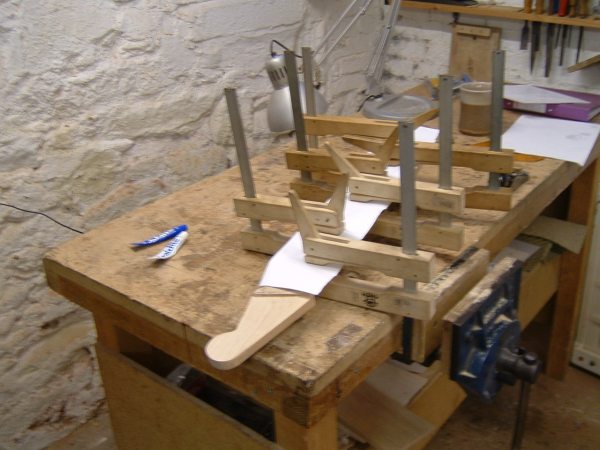
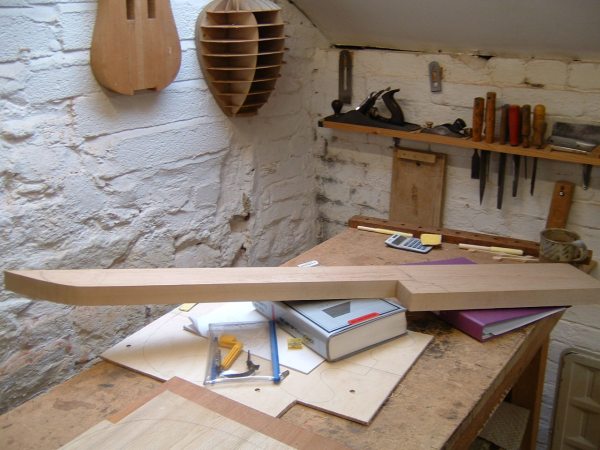
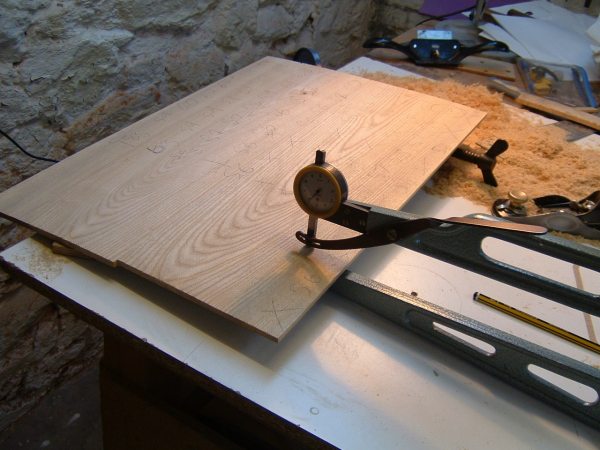
The last few days have not been super exciting, it has mostly been starting to shape my neck join. First I had to get the body's surface all square:
Now I am shaping the neck's extension, this week I will be perfecting the join and gluing.
2/2/05
Here is what the truss rod looks like all glued in. The piece of wood on top is to assure that I can plane the surface flat for gluing on the fingerboard.
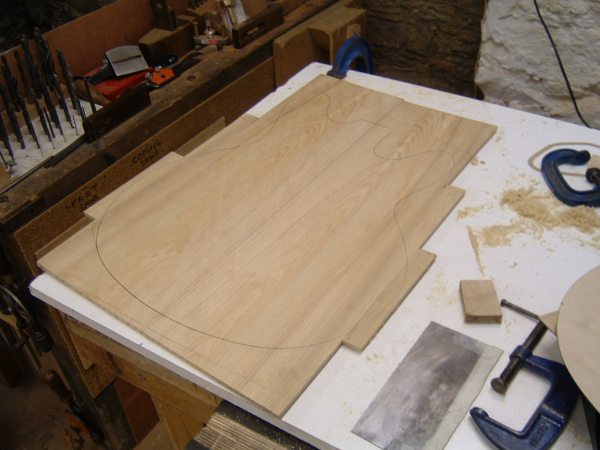
Phil went off with my body to get it bandsawed. The edges need cleaning up, but here's what it looks like all cut out (talk about taking shape!)
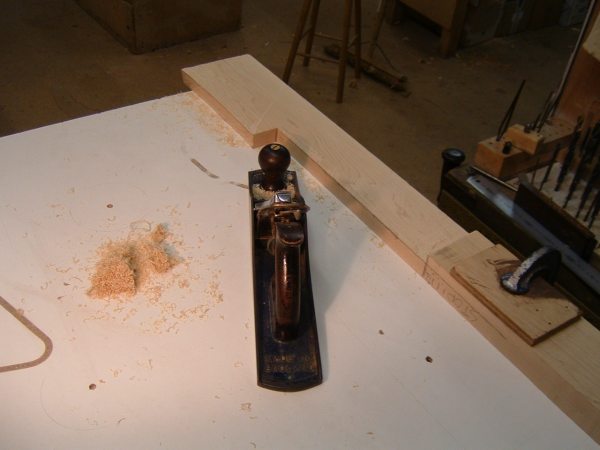
While Phil was out I started planing the gluing surface of my fingerboard flat. It's rosewood.
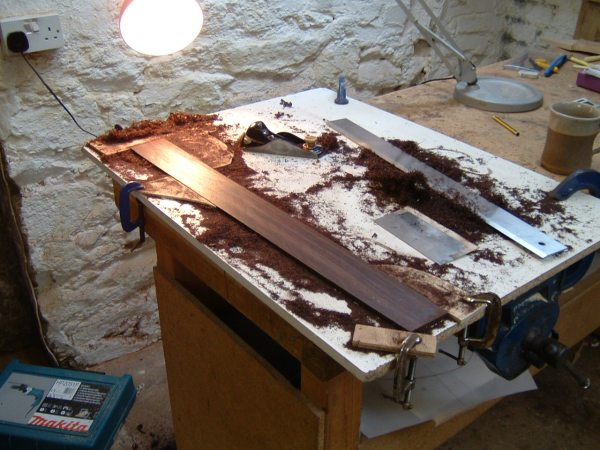
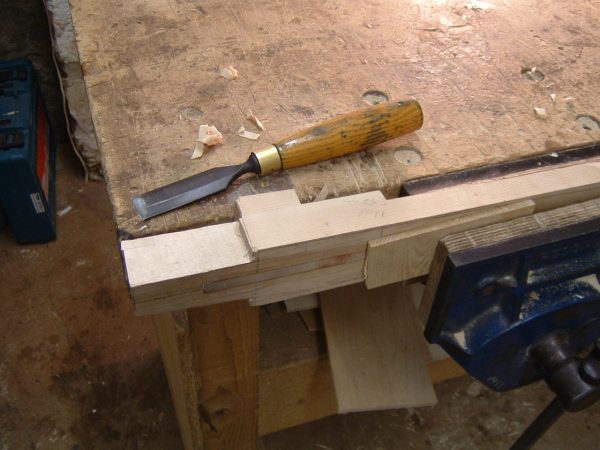
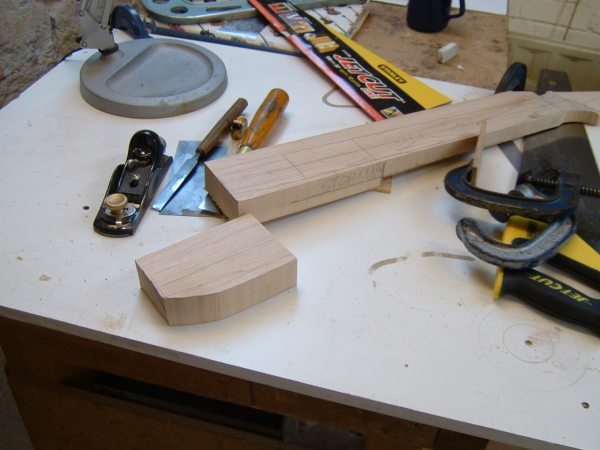
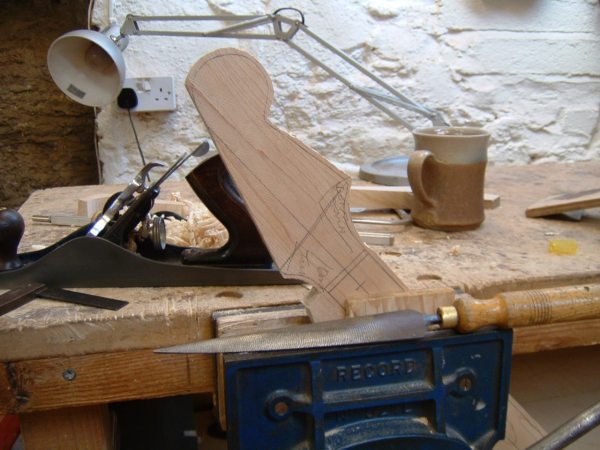
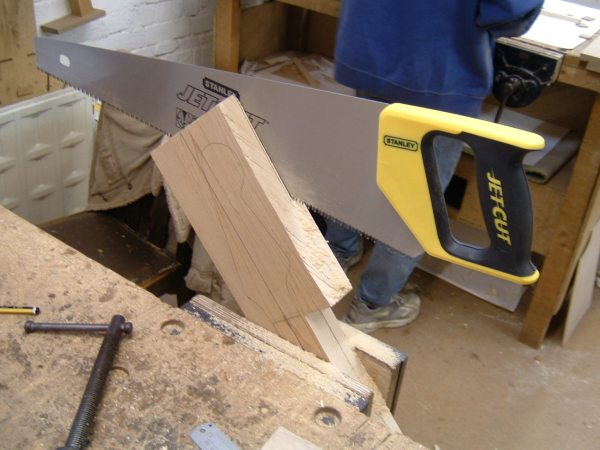
For the rest of the day I cut out the end pieces of my neck for the join. This is just a rough cut, I will be shaping it today and tomorrow probably. Here's what the cut piece looks like all lined up to the body (it's really great to see it start looking like a guitar)
2/1/05
First thing today was removing those clamps and cleaning up the joint that made my piece of maple deeper. It turned out better than expected!
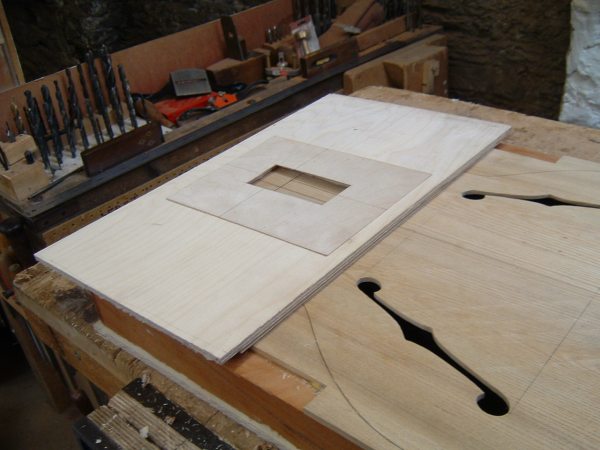
Today I routed out and glued my truss rod. Here is the setup for the routing, the long straight edge is used to make sure that the cavity is perfectly straight.

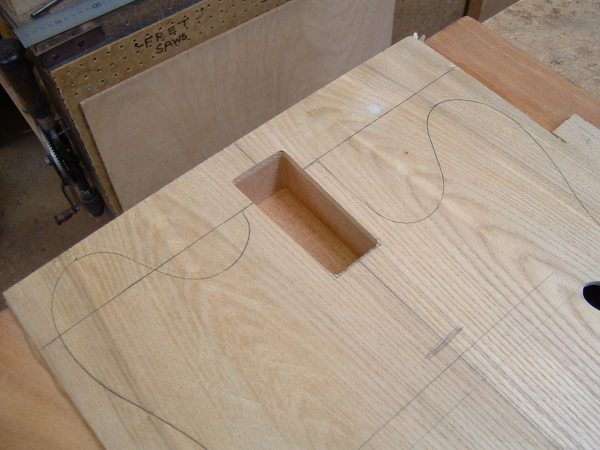
Here is what the truss rod looks like fitted over the cavity but not pushed in and glued, just to give you an idea of what the truss rod looks like inside of there.
Finally, here is the whole gluing setup. The truss rod is glued inside of the cavity just below flush with a special very strong glue that sticks to metal. A small piece of wood is placed over the truss rod so that the surface can be made completely flat for gluing the fingerboard on.
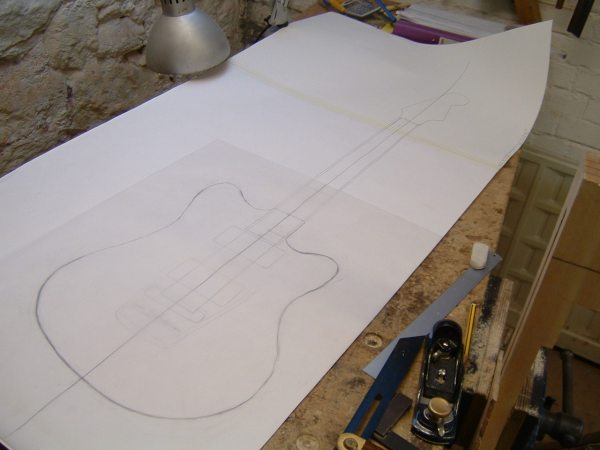
And before I forget, here is my "second guitar" drawing I made this weekend for fun. I'm not sure if I'll get to make it or not, if not it's fun to have the drawing. It is modelled after the Gibson Firebird and Fender Jazzmaster but is my design.
1/31/05
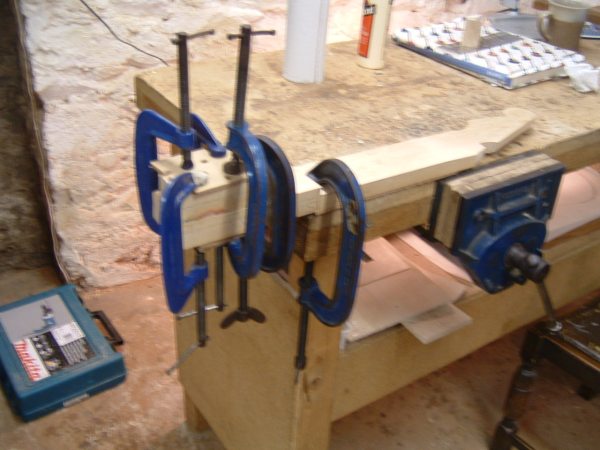
After making the headstock skinnier and to the properish shape this weekend, today I needed to join pieces for the end block to make it deep enough to fit in the guitar. First, I had to cut off a piece of the end to glue on.
Next, I had to plane both surfaces completely flat because this joint is pretty important. This was fairly tedious work. Then, I glued them together for the night.
1/28/05
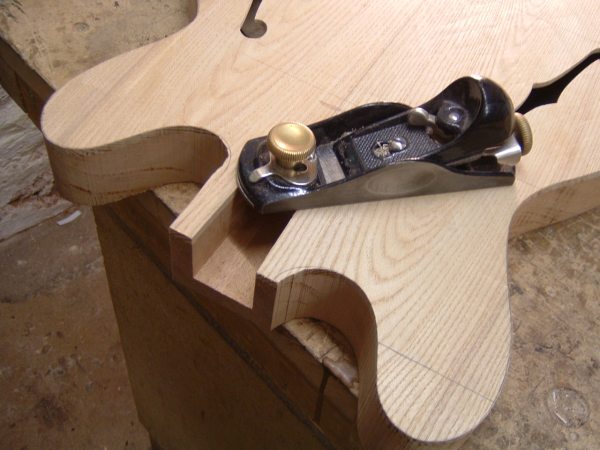
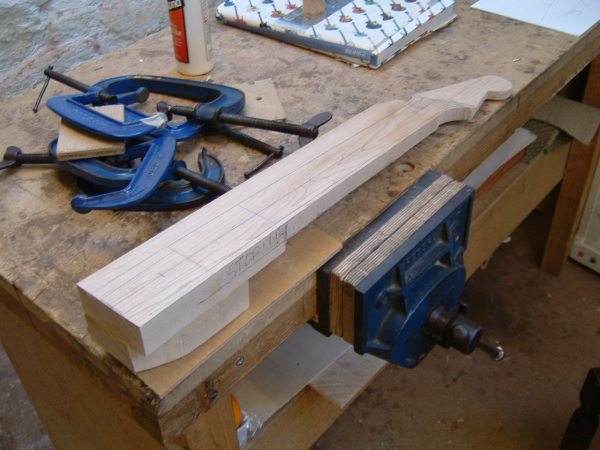
Friday and this weekend I will mostly be working out the headstock. Here I am shaping the area around it with a rasp, then I need to plane it down to its normal thickness.
1/27/05
First thing today was taking off the cramps and all, it turned out fairly well and just a tad misaligned.
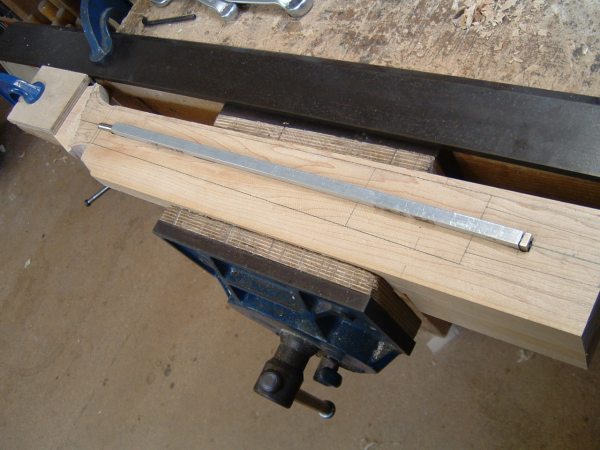
Next I needed to rout out the neck join... here is the template all set up, it is very important that the sides are smooth to guarantee a good glue joint for maximum resonance. Note the smaller piece of wood underneath the template to make the bottom of the routed out area slightly angled.
Here is the join all routed. You can easily see the two layers and the nice glue join here.
With the body ready for bandsawing, I set it aside and picked out the wood for my neck. It is a large piece of maple with no figure and quite distinctive grains. Very "fender".
I needed to trim here and there after figuring out where the neck would go with a saw.
Finally, I planed both the top and the gross sawed up bottom to make them fairly smooth.
1/26/05
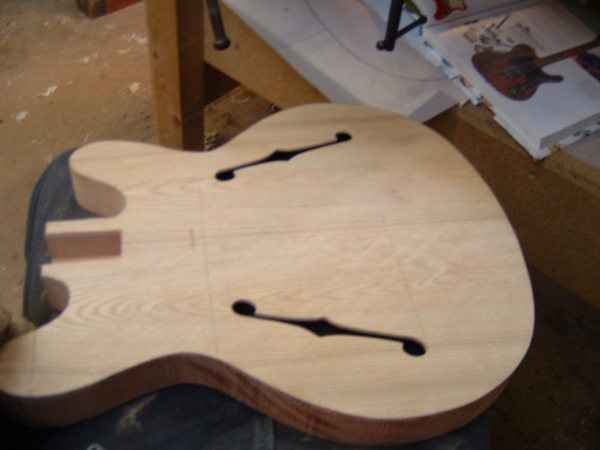
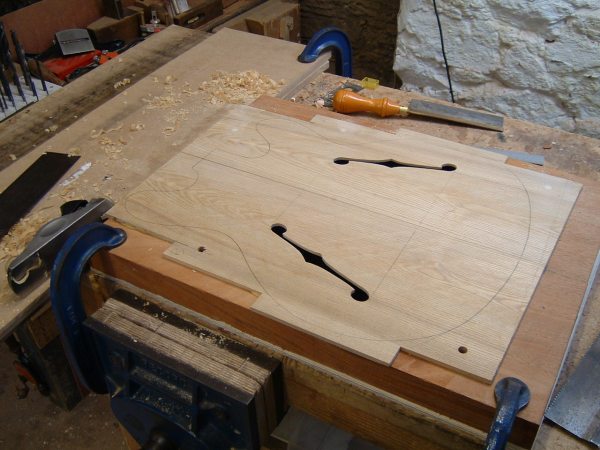
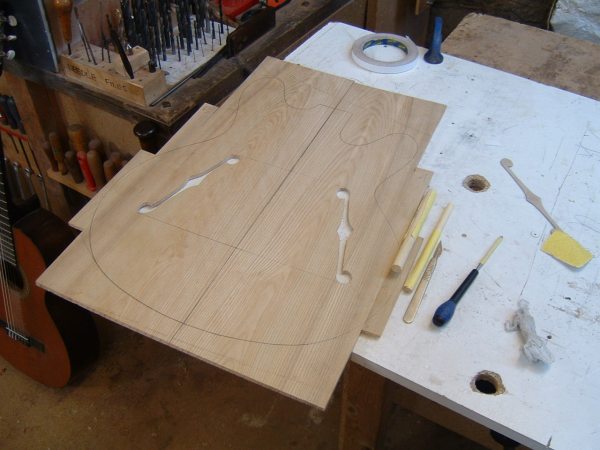
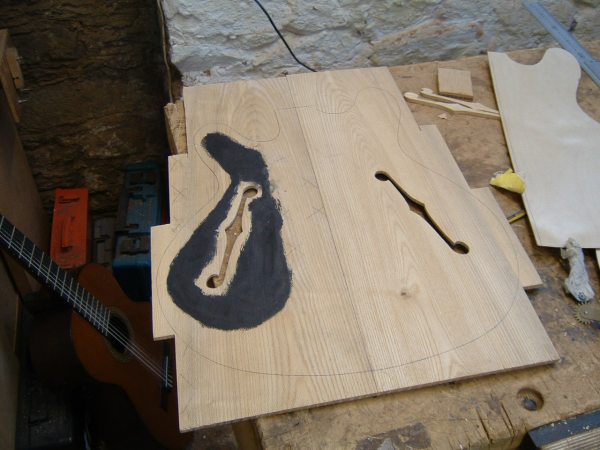
Here is a picture of the top with the F-holes all cut out and shaved to perfection.
Before gluing, I needed to make a slight slope to the edges of the F-holes so that the walls weren't so obvious. Then, I had to paint on some more conductive shielding paint This was likely the last time I would ever see this side of the top in full.
Here Phil is helping me apply the glue to the top of the bottom piece.

Here is what the whole gluing system looks like. All of the cramps are spaced to give equal pressure, not necessarily lots of pressure.
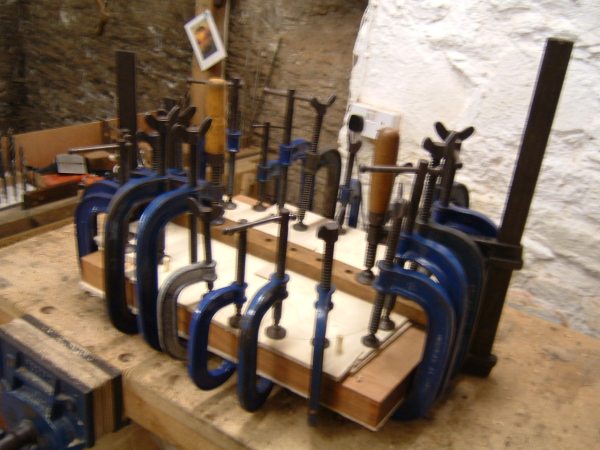
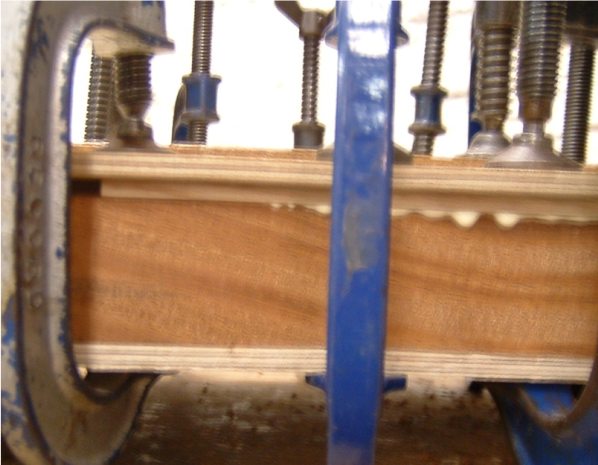
Here is a side view, of the layers... it goes protection ply, mahogany bottom, ash top, and protection ply from bottom to top. Now I just cross my fingers for a good join when I check tomorrow morning.
1/25/05
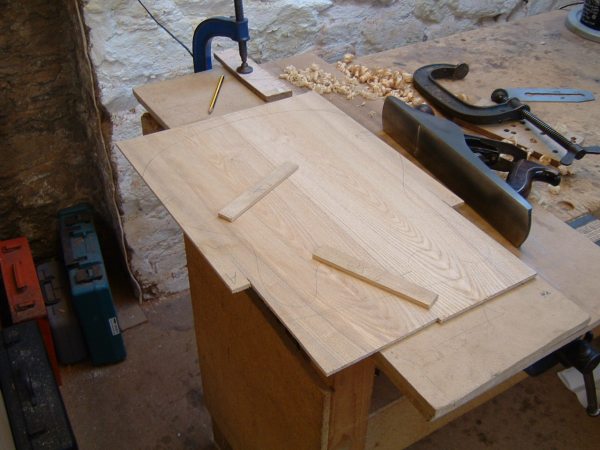
Lots of stuff today. First, I had to cut out the "wings" for my top, which I needed because the wood wasn't quite long enough... I had to make the edges match up as well as possible so that they glued well.
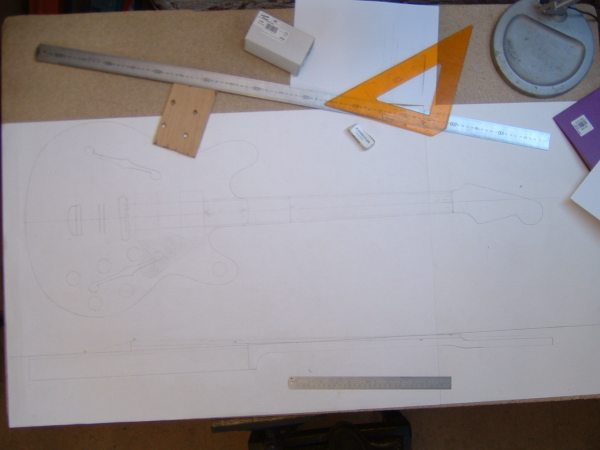
While that was all gluing, I did just a bit more drawing (this actually should be the last bit, except maybe a fretboard diagram) of the sideview of the guitar.
Once the glue was all set on the wings, I took it out and flattened the surfaces. Most of the joins look OK, and they are so close to the edge that my rounding and sunburst finish will make it unnoticeable.
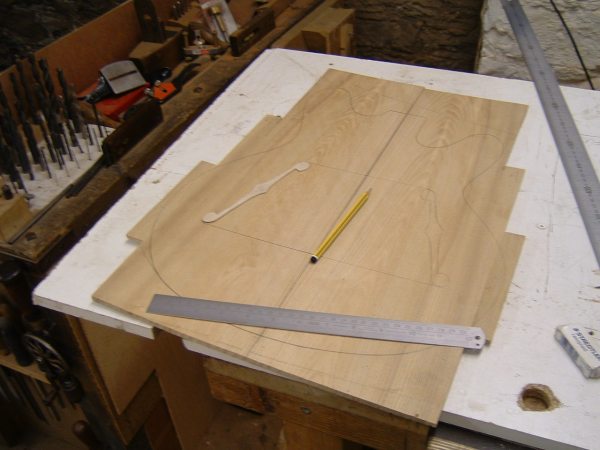
Before I glue the top onto the bottom, I have to cut out the F-holes. Here I am drawing the templates on.
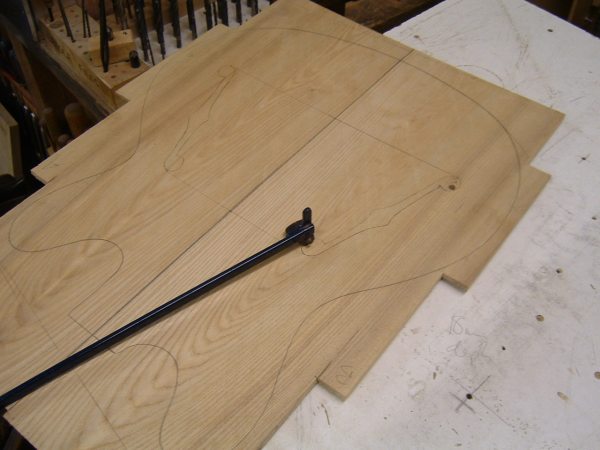
I started sawing it but the saw wasn't quite long enough to do the job, so here's where I stopped for the night. Tomorrow the F-holes should be done and I will probably be able to glue top to bottom at the end of the day.
1/24/05
Today I finished the thicknessing and flattening of my top, which is turning out much better.
1/23/05
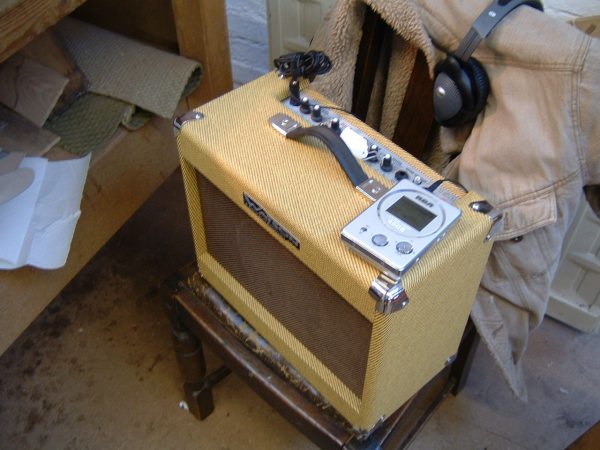
When I'm alone or just with Billy in the shop, I often wire up my mp3 player like this to listen to some music because I have no CDs:
|
|